How to Stick Down Die Cuts Easily!
Hands up if you love die-cutting! Meeeeeeee!
But what I don’t love is spending ages dotting glue on the back of my delicate die cut shape… ever so carefully…. placing it down gently without breathing… AND GLUE STILL MANAGES TO SPLODGE OUT THE SIDES!!!! (Cue grumpy face)
Well thankfully there is an answer to this die cutting dilemma in the form of Sticky Roll! If you want to end the messy glue misery of die cutting and have professional looking cards and projects, then this tutorial is for you!
You can watch the tutorial, or if you prefer, keep reading for step by step instructions with pictures.
What is a Sticky Roll?
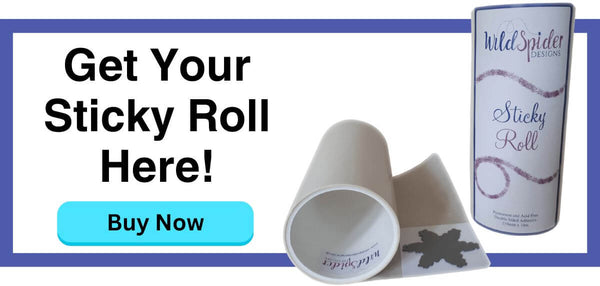
Sticky Roll is basically a giant roll of double-sided adhesive tape, the benefit of it being on a roll is that you use exactly what you need and the rest gets rolled up safely for next time without any going to waste.
How do I use Sticky Roll to stick down die cut shapes?
Step 1 – Cut out the size of card/paper you need.
Measure out the size of card you need for your die and cut it out.

(If you are using a whole sheet to cut lots of dies then skip this step.)
Step 2 – Make your card or paper self-adhesive

Roll out the double-sided adhesive onto your cutting mat and place your piece of card directly on to the Sticky Roll.
(If you are using a whole sheet, simply place the sheet down directly on to the Sticky Roll as above)
Using either a craft knife or scissors, cut around the piece of card.


Top tip! If you are using scissors, cut just inside the card to avoid getting the Sticky Roll stuck to the blades, it will come off, but life is far too short to be cleaning scissors all the time!
Step 3 – Burn(ish) Baby Burn(ish)!

Burnish the side of the card covered in Sticky Roll. Believe it or not this will actually help you take off the liner!
Step 4 – Get Die Cutting

Place your die on to the side of the card NOT covered in Sticky Roll and run it through your cutting machine.


Note - Sticky Roll will work with any brand of dies or die-cutting machines, electric or manual, but it is always worth noting, whether you use Sticky Roll or not, that many different brands of dies have different depths to their cutting edge so some brands may work better with thicker card than others.
The dies I have used here are Baby Girl Washing Line from Tattered Lace and Congratulations from Florartistry by Sharon Callis
Step 5 – Peel off the liner
Subscribe to the YouTube channel


Using either a craft knife or a pin, select a part of your shape and simply ‘knick’ the liner using a little flicking movement, this should lift up the liner for you to peel gently away.
There is a bit of a knack to this part, but with a little practice you’ll be peeling in no time!
Top Tip! – If you’re new to Sticky Roll, have a practice peeling off the liner on some basic shapes first.
Step 6 – Create your masterpiece!
The time has come, you can now place your shape or sentiment down without fear of nasty glue marks ruining your hard work!


Sticky Roll has certainly changed my crafty life and has become an essential tool for me and many other crafters, especially as sticking things down is only just the start of what you can achieve with it. But most importantly no more unsightly glue splodges and no more time consuming gluing!
So make sure you get hold of your Sticky Roll - especially as there's 10% off your first order when you join the Newsletter :)
If you’re one of ‘those’ crafters (like me!) who has their fingers in many crafting pies, you might also like
How to use Sticky Roll with electronic cutting machines
along with some of the other craft tutorials over on the blog, or
Subscribe to the newsletter
and we’ll let you know when there’s a new project or tutorial and lots of other fun crafty things!
And if you'd like to find out more about all the amazing thing you can do with Sticky Roll please go here
Sticky Roll - Less time gluing - More time crafting!
Please let me know if you have any questions or leave a comment below, and as always…
Happy Crafting!
Toni x


